Learning to repair everyday items is one of the most empowering skills you can gain at home. Instead of immediately calling a technician or buying something new, you can often solve the problem yourself with a few simple tools, patience and clear instructions. From a loose chair leg to a blinking lamp, many faults follow predictable patterns. If you learn how to fix common problems in a safe and methodical way, you will save money, reduce waste and feel more confident in handling unexpected failures. This guide walks you through practical steps, showing where to start, what to check first and when it is smarter to stop and call a professional instead.
Essential mindset and safety before any repair
Successful home repair starts with the right mindset. Always assume you can learn, but never assume you already know everything. Curiosity should be balanced with caution.
Before touching any damaged item, take these key steps:
- Disconnect power from electrical devices by removing plugs, turning off circuit breakers or taking out batteries.
- Work in a clean, well-lit area so that dropped screws and small parts are easy to find.
- Use basic protective gear: safety glasses when cutting or drilling, gloves when dealing with sharp metal or glass.
- If something smells burnt, is extremely hot, or has visible arcing, stop, unplug it and do not attempt deeper repair.
Get used to documenting the original state. Before disassembling anything, take photos from several angles. This simple habit makes reassembly far easier and prevents guesswork later.
Basic toolkit for home repairs
You do not need professional equipment. A compact, well-chosen toolkit is enough for most domestic repairs:
- Assorted screwdrivers: flat, Phillips and small precision types for electronics and glasses.
- Adjustable wrench and a small set of metric and imperial hex keys.
- Utility knife, scissors and a small handsaw or hacksaw.
- Electrical tape, masking tape and a roll of duct tape for temporary fixes.
- Super glue, wood glue and a tube of multipurpose epoxy.
- Multimeter for checking voltage, continuity and simple electrical faults.
- Sandpaper in different grits and a small file for smoothing edges and cleaning contacts.
Keep everything in one box so that tools are easy to find when a problem appears. Over time you can add specialty items such as a soldering iron, pliers with insulated handles and a small clamp set for gluing.
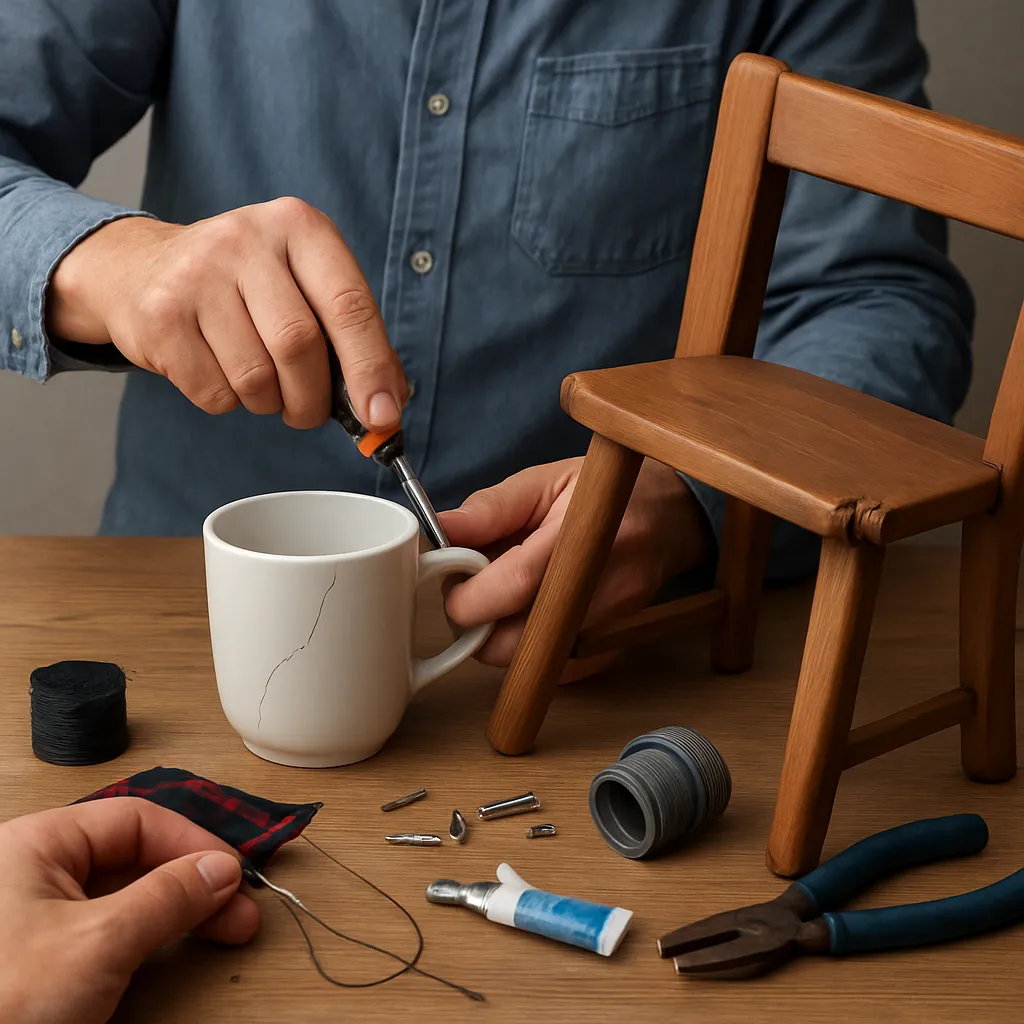
Repairing loose and broken furniture
Furniture problems are usually mechanical and visible, which makes them a good starting point if you are new to repairs.
Loose chair legs and wobbly tables
First, turn the chair or table upside down and inspect all joints. Look for missing screws, cracked wood or gaps in dowel joints.
- If screws are loose, remove them, add a drop of wood glue into the hole, then reinsert the screw and tighten firmly but not aggressively.
- If the screw no longer grips, insert wooden matchsticks or toothpicks coated with glue into the hole, cut them flush, then drive the screw back in. This fills the gap and restores strength.
- For bolts with nuts, hold the nut with a wrench while tightening the bolt with a screwdriver, so both sides are secure.
Cracked or chipped wood surfaces
Small cracks and chips can usually be repaired without replacing the whole part.
- Clean the damaged area from dust and loose fragments.
- For hairline cracks, inject wood glue as deeply as possible, then clamp firmly until fully dry.
- For larger gaps, use wood filler or two-part epoxy, shape it while soft, let it harden and sand smooth.
- Finish by staining or painting to match the original colour as closely as possible.
Fixing doors, drawers and cabinets
Doors that squeak, stick or do not close properly are irritating but usually easy to fix.
Squeaking hinges
Identify which hinge causes the noise by moving the door slowly. Apply a drop of light oil or silicone spray to the hinge pin and move the door back and forth to distribute it. Wipe off excess oil so it does not stain the surface. If the squeak remains, remove the hinge pin, clean it with a cloth and a bit of solvent, then lubricate and reinstall.
Sticking drawers and misaligned doors
For wooden drawers that are hard to open, remove the drawer completely and inspect the runners. Clean dust and old wax; then rub a candle or bar of soap along the runners to reduce friction. If a cabinet door rubs against the frame or does not close, adjust the hinge screws. Many modern hinges allow you to move the door up, down, in or out with small screw turns. Make tiny adjustments and test after each change.
Everyday electrical appliances: safe troubleshooting
Many household appliances fail due to basic issues: bad connections, clogged filters or worn cables. Before starting, unplug the device and keep water far away from your work area.
Lamps that do not light
When a lamp stops working, follow a simple sequence:
- Test the bulb in another working socket. Replace it if it is dead.
- Check if the power outlet is live by plugging in a known working device.
- Inspect the switch: some lamps have a small inline switch on the cable that can fail.
- If the cable shows cuts, kinks or burn marks, do not use the lamp until the cable is replaced.
If you are comfortable with basic wiring, you can replace the switch or lamp holder by carefully copying the existing connections, ensuring that wires are firmly clamped and no bare copper is exposed.
Vacuum cleaners with weak suction
Loss of suction is usually caused by clogs and full containers rather than a defective motor.
- Empty the dust container or change the bag.
- Remove and wash filters according to the manual. Let them dry completely before reinstalling.
- Check the hose for blockages by passing a flexible rod or broom handle through it.
- Inspect the brush head for tangled hair and threads around the roller; cut and pull them out.
If the motor emits a burning smell or unusual noise, stop using the vacuum and seek professional help, as internal damage can escalate quickly.
Simple plumbing fixes
Water-related issues often look serious but can be managed safely when you know where your main shutoff valves are located.
Dripping faucets
A dripping tap wastes water and money. Many modern faucets contain a replaceable cartridge or washer that wears out over time.
- Turn off the water supply to the faucet and open it to relieve pressure.
- Cover the sink drain so that small parts cannot fall in.
- Carefully remove decorative caps and handle screws, then lift off the handle.
- Unscrew the cartridge or valve body, taking note of its orientation.
- Replace worn O-rings or the entire cartridge with a matching model.
Reassemble in the exact reverse order. If the drip persists, check that all seals sit correctly and are free of dirt or mineral deposits.
Clogged sinks and slow drains
A slow drain is often the result of hair, grease or soap buildup rather than a deep pipe problem.
- First try a plunger, ensuring there is enough water to cover the rubber cup and sealing any overflow holes with a cloth.
- If that fails, place a bucket under the trap, unscrew it and manually remove debris, then rinse and reinstall.
- Use a plastic drain snake to pull hair from bathroom sinks and showers.
Avoid frequent use of harsh chemical cleaners, which can damage pipes and be dangerous when mixed. Mechanical cleaning is usually more effective and safer.
Textiles and clothing: quick saves
Basic sewing skills let you extend the life of clothes, curtains and upholstery.
Reattaching buttons
Choose thread that matches the existing colour. Thread the needle, knot the end, then sew through the fabric and button several times, following the original pattern of holes. Finish with several tight stitches on the underside and trim excess thread.
Small tears and loose hems
For a straight tear, align the edges, pin them together and use a backstitch or a simple running stitch reinforced at both ends. For a loose hem on trousers or skirts, fold it back to the original line and use a blind stitch so that the repair is almost invisible from the outside. Iron the area afterward to set the fold.
Electronics: when to repair and when to stop
Phones, laptops and small gadgets are tempting to open, but their components are delicate and densely packed. Some tasks are realistic at home; others are not.
- Reasonable DIY tasks: cleaning fans, replacing batteries in devices designed for access, swapping snap-in covers or keycaps, tightening external screws.
- Risky tasks: motherboard repairs, soldering tiny components, opening sealed screens and handling swollen batteries.
If a device overheats, shuts down randomly or shows battery swelling, power it off and do not puncture or compress the battery. Seek specialized service immediately, as damaged cells can cause fire.
Organizing and preventing future problems
Every repair is also a chance to prevent the next failure. Dusting ventilation grills, tightening door handles before they fully loosen and inspecting cables for wear will avoid many breakdowns.
Create a small log where you note what you repaired, when and how. Over months this becomes a personal reference that speeds up later work and helps you recognize repeating issues. Keeping spare parts such as screws, wall plugs, washers and generic seals will also make it easier to react immediately when something fails.
When to call a professional
Knowing your limits is as important as knowing how to use a screwdriver. Call a specialist when:
- The repair involves main electrical panels, gas connections or structural elements of the building.
- You smell gas, see water leaking near electrical installations or notice severe burning signs.
- The product is under warranty and opening it would void coverage.
- You feel unsure, stressed or unable to follow the steps calmly and safely.
Home repair is not about doing everything yourself at any cost. It is about solving the many small and moderate problems you can handle safely, leaving the rest to qualified experts.
Building confidence through practice
Start with low-risk tasks like tightening furniture, unblocking drains or sewing on buttons. Each successful fix builds confidence and increases your understanding of how things are constructed. Over time, you will recognize typical failure points, own a more capable toolkit and develop a calm, methodical approach. With patience, clear observation and respect for safety, you can keep many everyday items working reliably and reduce your dependence on costly emergency services.